
New Video Content Cable Railing Videos
How to Install Cable Railing for Stairs (4:41)
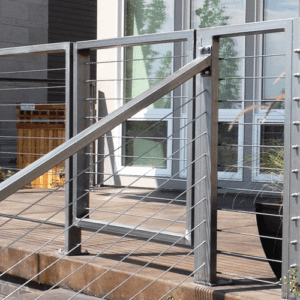
This video demonstrates how to install a cable railing system on stairs using our post-to-post handrails. These aluminum handrails provide continuous support down stair sections and easily connect cable railing systems on different levels.
Steps Covered:
- Verify that all the necessary components and tools have been assembled.
- Reference your estimation layout sheet to mark your posts and fascia board.
- Prepare and install your posts using mounting bolt assemblies and standoff spacers.
- Measure and cut the handrail to its final dimensions.
- Attach the post-to-post mounting brackets.
- Loosen the bolts securing the bottom post of the railing and work the handrail in between the top and bottom posts.
- Secure the handrail in place over the brackets, then re-tighten the bolts on the bottom post.
- Install the saddle brackets to the handrail and middle posts.
Cable Railing Kits (4:07)
Learn about the different cable railing kits we offer here at Stainless Cable & Railing Inc.
These kits bundle together cable and fittings, allowing for simple and straightforward purchasing of cable railing infill. Turn any railing frame into a cable railing using these pre-packaged kits!
Variable length kits (10ft, 20ft, 30ft, 40ft, 50ft) include a cut of cable and set of fittings. One of the fittings is pre-attached to the cable here in our shop to make your installation faster and more streamline. The 1000ft, or “Full Deck,” kits contain 1000ft of cable, 50 sets of attachment hardware, installation tools, and maintenance products; everything you need for a standard 3-4 run deck railing. End fittings kits bundle attachment hardware together without cable, and are often chosen by customers who already have their cable or need a lot of fittings.
Cable Railing (0:39)
Stainless Cable & Railing is the best source for durable and affordable cable railing posts, rails, and infill kits. We offer high-quality, long-lasting materials at factory-direct prices. Our kits are easy to assemble, with detailed and simple instructions.
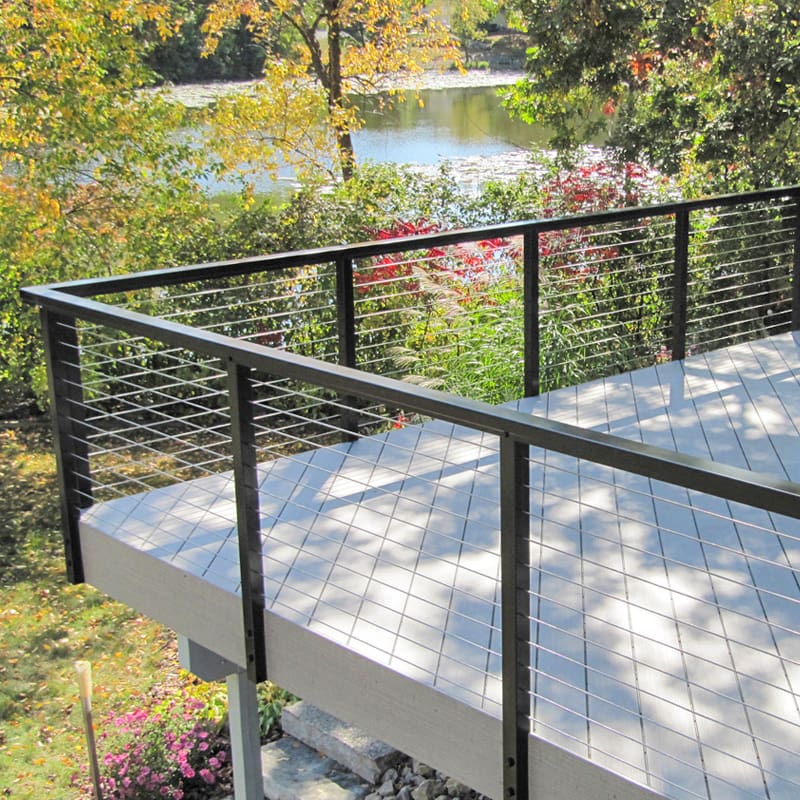
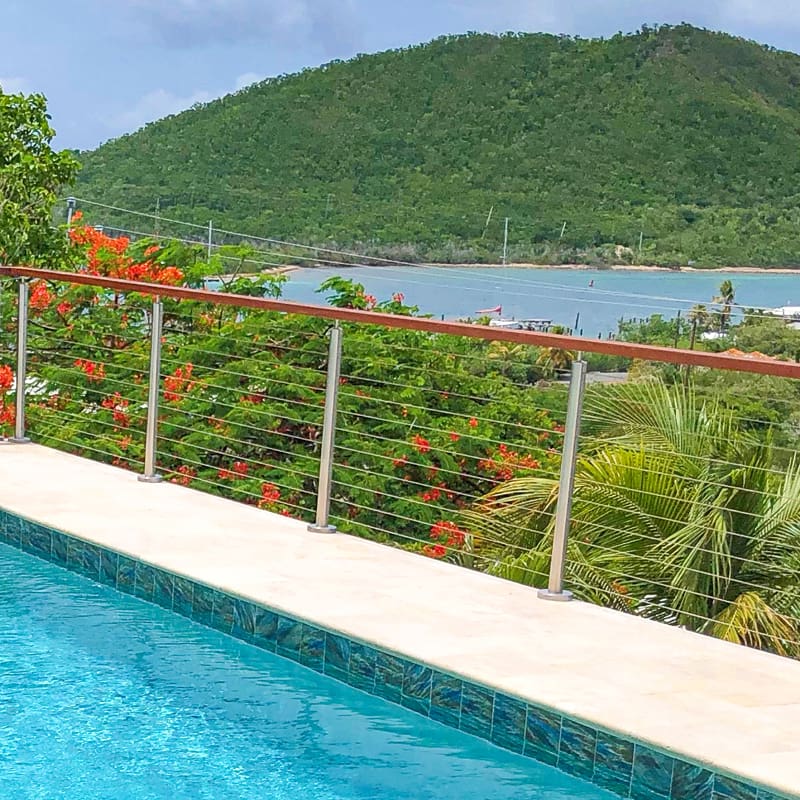
Choose between square or rounded 316 stainless steel posts and rails, or choose our industry best AAMA 2604 coated aluminum. Our experts will walk you through the process, from rough drawing to finished railing.
Low Cost Cable Railing (2:39)
This video compares cable railing material and hardware choices to help you find the best combination for any budget.
Aluminum posts and top rails are easy to work with, available in multiple color options, and more affordable than stainless steel. Our signature field and factory hardware assemblies are not only our lowest-profile option, but they also have the lowest price. Give us a call at 888-534-5896 and ask one of our estimators about our aluminum system with field assemblies for a cost effective, but durable, railing solution.
How To Tension Cable Railing (2:27)
This video details the necessary steps to make a swaged (or crimped) cable railing connection.
Steps completed before filming:
- Doing one section at a time, measure overall length from outside face of beginning post to outside face of ending post, then add an extra 3”.
- Using the measurement from step 1, unroll cable and cut to length.
Steps demonstrated in video:
- Attach either a Field Tensioner or a Field Terminal to one end of the cable using the Crimper.
- Push the crimped fitting through the drilled hole of the beginning post and secure with hardware.
- Lace the raw cut end of the cable through all intermediate posts.
- Determine final cut length of cable and cut it. Attach second end fitting and secure with hardware.
- Tension the cable, remove the excess threading and finish attaching end hardware.
- Passivate the cables and other exposed stainless steel surfaces to keep them clean and protected from corrosion.
For more detailed instructions, reference FIELD SWAGED ASSEMBLY INSTRUCTIONS.
How To Install Cable Railing (6:35)
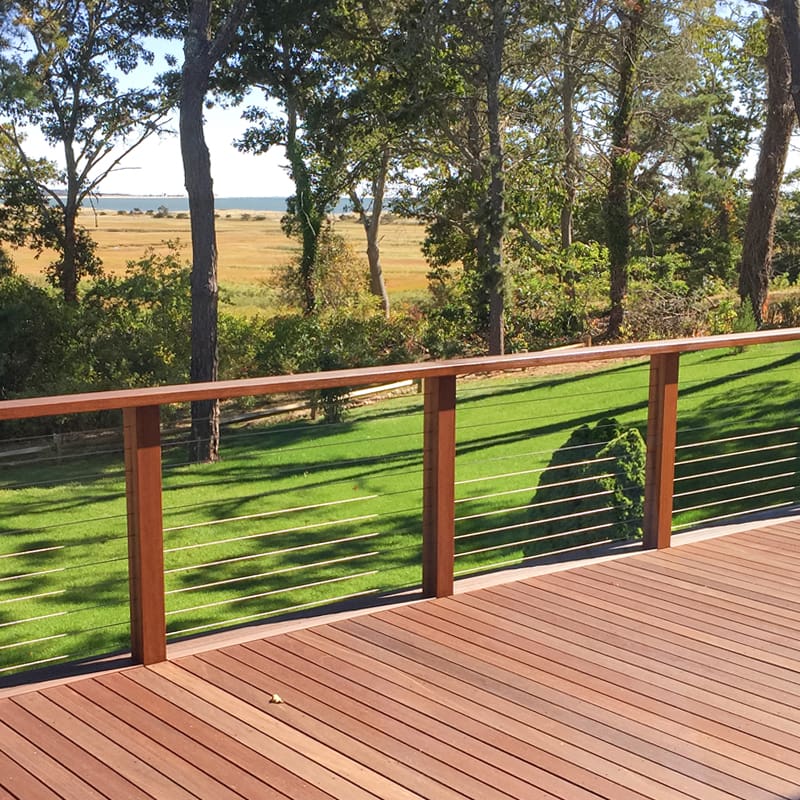
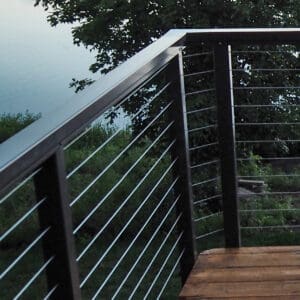
Learn how to install cable railing like a deck professional. This video tutorial will go over the steps and provide tips for installing one of our DIY cable railing systems. The end fitting hardware and crimping portion is universal for any cable railing installation, whether the post material be stainless steel, like in this video, aluminum, wood, or retrofit.
Steps Covered:
- Verify that all the necessary components and tools have been assembled.
- Prepare the fascia brackets and attach them to the side of your staircase (or deck).
- Insert stainless steel square posts into the fascia brackets and tighten the brackets.
- Attach the cap rail to the mounting bracket post caps.
- Use epoxy to secure the mounting brackets into the posts.
- Crimp the field terminals onto each cable strand, feed them through the posts and secure with end hardware.
- Thread, measure, and cut the cables to their final length.
- Crimp the field tensioners onto the other end of each cable strand, then feed them through the posts and secure with some of the end hardware.
- Remove excess threading and finish attaching end hardware to the tensioners.
- Passivate the cables and other exposed stainless steel surfaces to keep them clean and protect them from corrosion.
Glass Railing Assembly Video - eGlass Element Deck Mount (3:43)
Want to DIY? Watch this instructional video to see how the eGlass Element™ deck mount glass railing system is assembled from deck to top rail. Each step is animated and provides details and tips for quick and easy assembly, just like a professional.
The eGlass Element™ system has our thinnest aluminum top rail for minimal view obstruction. A post-to-post design allows this system to conform to nearly any area you need. The segmented top rail makes it simple and economical to ship, as well as easier to assemble.
Like this railing? Give us a call and one of our estimators can assist you with your project. To get a free online estimate, fill out our free estimate request form.
Glass Railing Assembly Video - eGlass Vision Deck Mount (2:59)
Want to DIY? Watch this instructional video to see how the eGlass Vision™ deck mount glass railing system is assembled from post to clamps. Each step is animated and provides details and tips for quick and easy assembly, just like a professional.
The eGlass Vision™ system is a frameless glass panel system that uses glass clamps. With no top or bottom rails to block your sightline, this system provides the most uninterrupted view. In this video, you will see how simple it is to install a glass clamp system, which has the fewest parts of any eGlass system.
Like this railing? Give us a call and one of our estimators can assist you with your project. To get a free online estimate, fill out our free estimate request form.